The Approach
This was the second trough I tried to build, and so it incorporated the lessons learned the first time around. One big change was the material for the trough shape guides. I wanted something thick enough that I could screw the metal directly into it (the first version used laser-cut plastic guides, about 1/4" thick, which the metal was essential sewn to using old copper housewire. Not a recommended approach). This worked fairly well, although I used some scrap I had onhand, and it tended to split a bit. Better wood, smaller screws, or predrilling would probably take care of this.The other big change was adding the builder's paper backing to the mylar. On the first trough, I tried to adhere the mylar directly to the metal once it had been sewn into the trough. This was really, really hard to do -- mylar is hard enough to work with when you're dealing with simple planes, but almost impossible with curved surfaces. It's just too easy to get some part of it just a little off, causing big wrinkles to appear. Gluing it to the paper backing made it much easier to manipulate and get into the trough with many fewer wrinkles. This wasn't a complete success, though, as the paper was susceptible to moisture, and had a tendency to buckle and deform slightly over time.
The Walkthrough
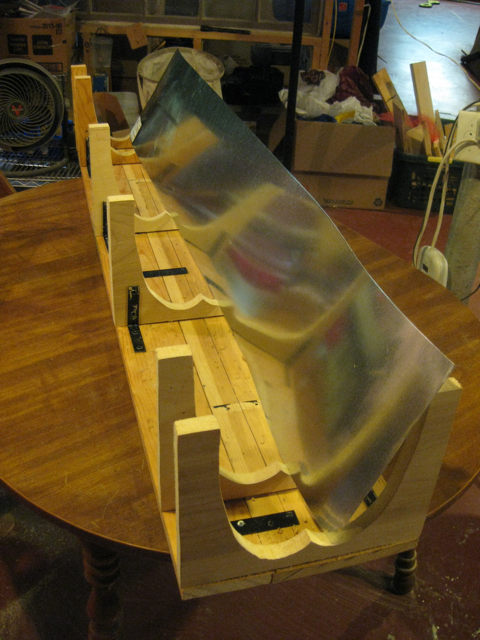
This walkthrough is incomplete for the time being. It wasn't until things were well underway that my wife suggested documenting the process, which was a great idea. In the first picture, I've already cut the 6 guides for the trough and mounted them onto some scrap lumber. I'll fill in the gaps regarding the creation of the shape later, but the quick way to handle this is to download and print this flyer. The reflector shape on the flyer is a 1 to 1 representation of the real thing, so if you cut it out and trace this onto a piece of wood, you'll be ready to start cutting.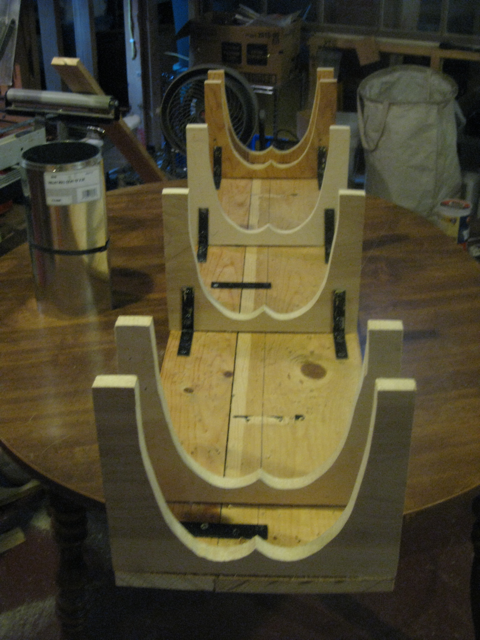
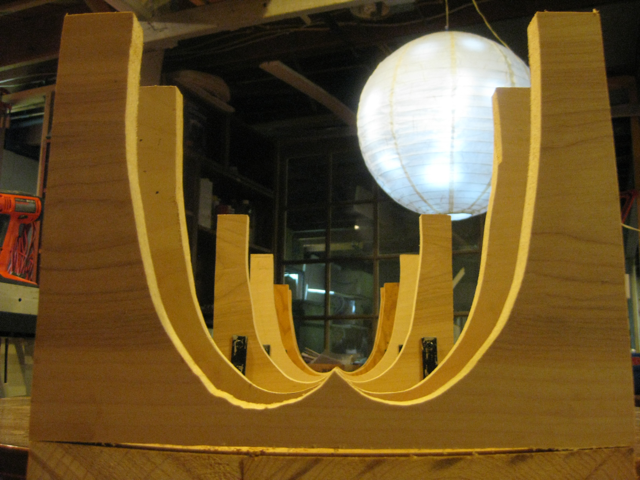
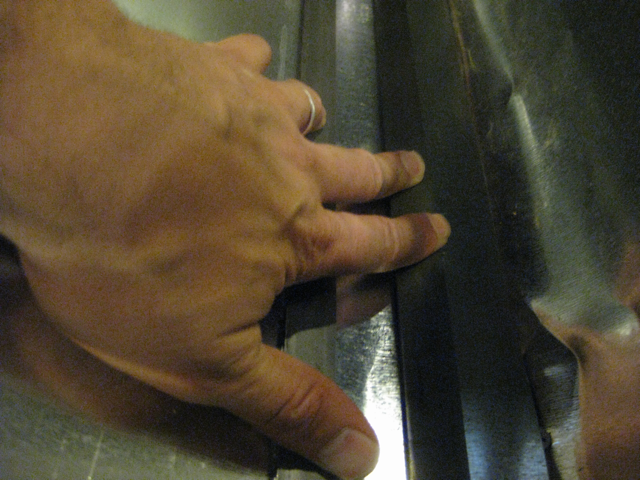
You can see from this close-up that this isn't a machine-perfect job; however, those little details seem to average out, and the resulting collector still worked pretty well.
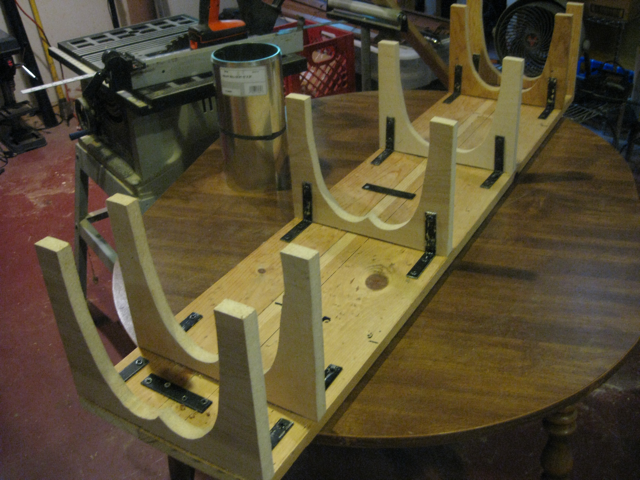
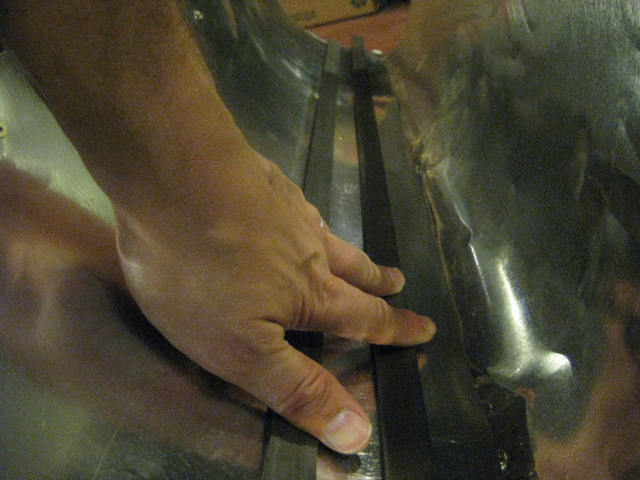
Time to use the guides to create the shape. I used metal roof flashing for this, which by happy coincidence is exactly the correct width for one half of the trough. It is, however, devilishly hard to work with. It bows well up to a point, but then the metal creases. The tightest point of the curve at the bottom of the trough seems to be about the limit of what the metal can take before bending. I'd suggest some extra hands for this part, if you have access to them. Basically, the goal was to hold the metal into place long enough to put some wood-screws into it, pining it to the wooden supports and using the shape cut into the wood to hold the shape for the metal.
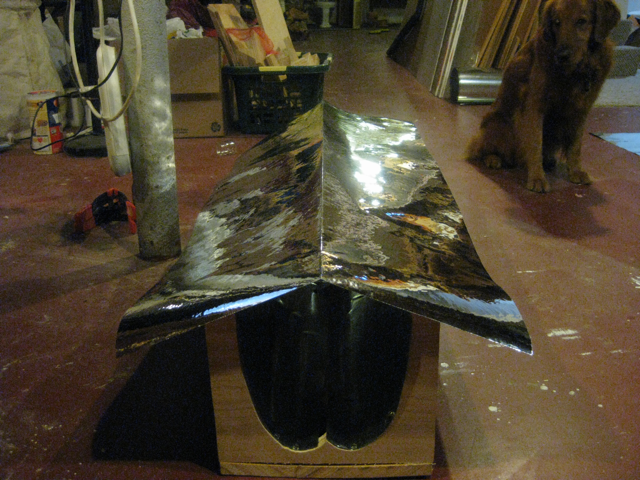
This worked fairly well, but you can see a few of the creases in the next two pictures. Also, I just screwed the metal directly to the wood. Next time, if I try metal flashing again, I'll go the extra mile and redo all of the screws, one at a time, once the metal is in place, countersinking the heads a bit so that they don't protrude above the surface too much.
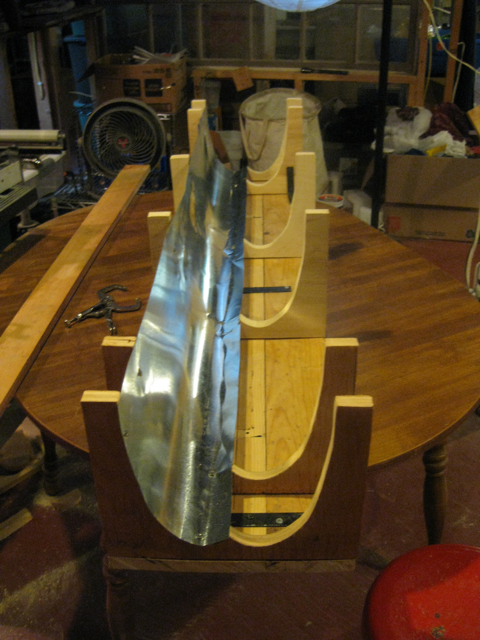
Time to do the other side.
I tried using some metal stock this time to evenly apply pressure along the length of the flashing. It worked better than just doing it all with 2 hands, but there's still a bit of skill involved here, as the wrong pressure in the wrong place will still bend the flashing.
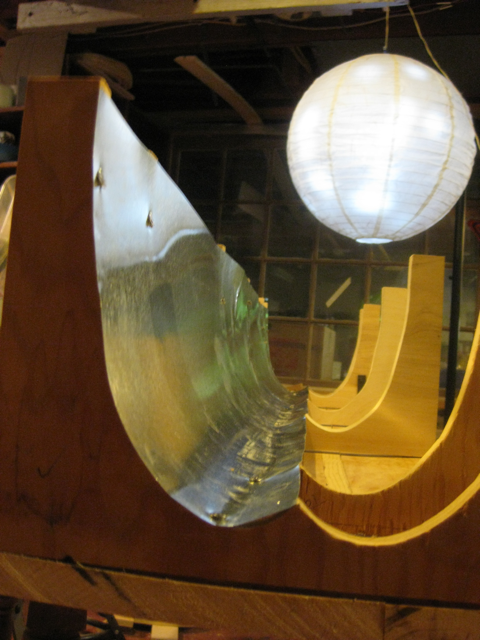
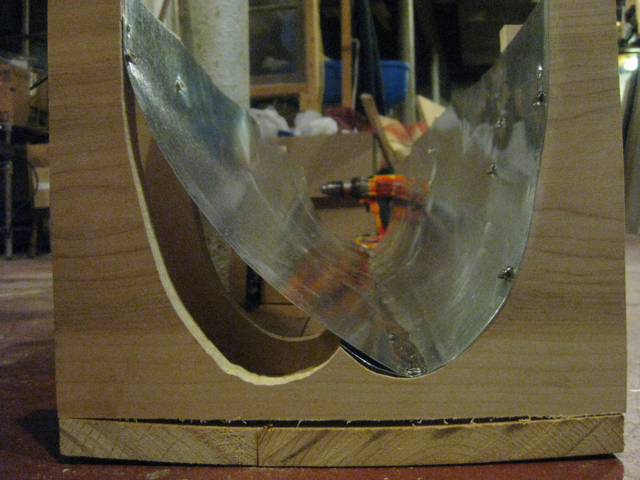
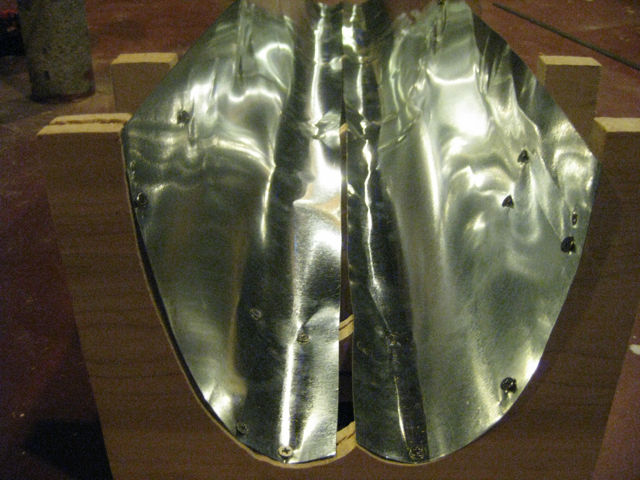
The second side is in, and looking a little bit better than the first. Unfortunately, the edge of the 2nd piece of flashing didn't quite make it to the point of the reflector, but given my approach of attaching the mylar, that's OK. If I were going to try to attach the mylar directly to the metal, this would have been a problem.
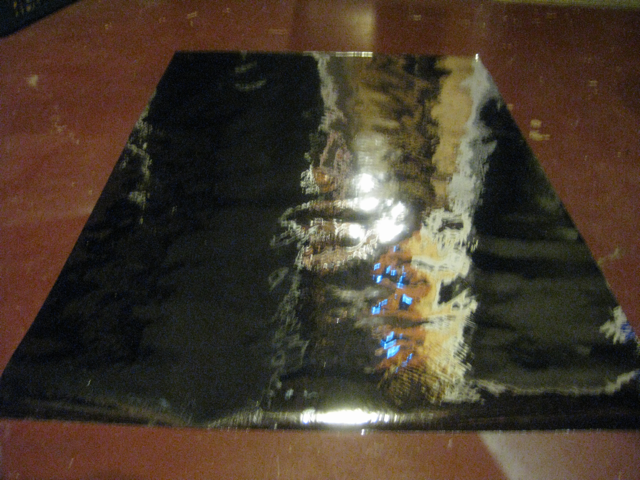
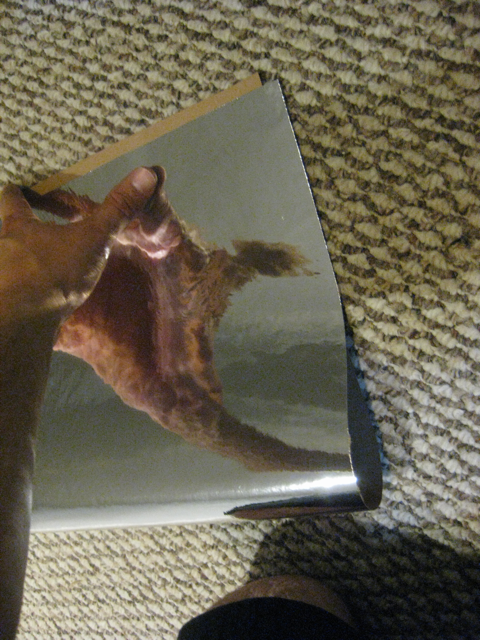
The mylar sheet, glued to a piece of builder's paper.

Now with the edges trimmed.
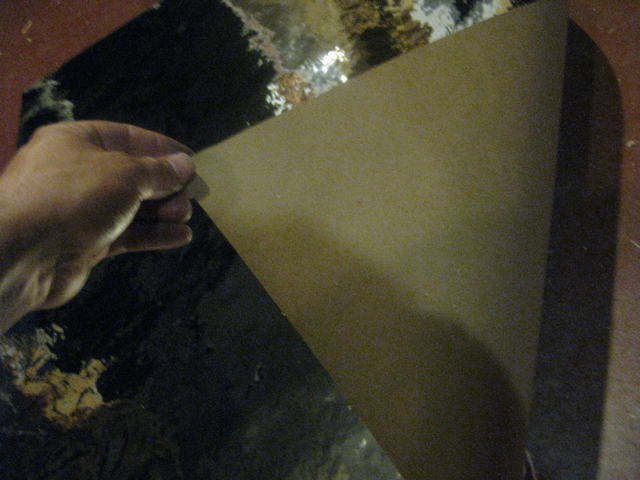
The idea is to crease the paper down the middle, to create the point for the bottom of the involute trough.
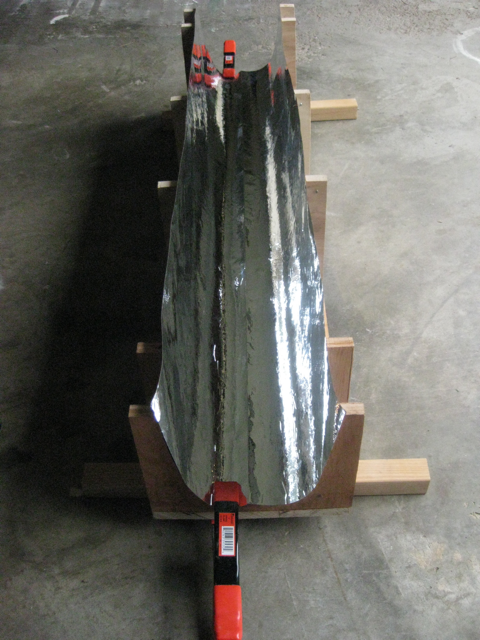
The creased mylar/paper, about to be dropped into the trough. Max looks on.
Pressed gently down into the trough. This approach worked really well -- it gave me a perfect, sharp crease down the middle and was easy to do.
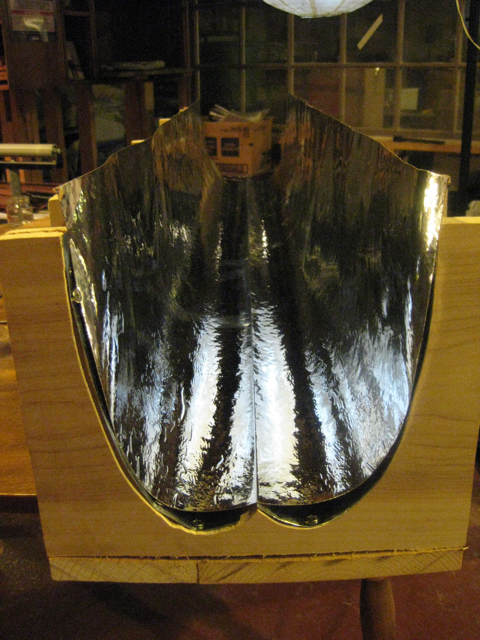
Gluing the paper backing to the metal flashing. I did this in two steps (one for each side), pulling the paper back, sprayed adhesive on the metal, and then carefully pressing the paper to the metal, working from the center of the trough out to the edge. Clamp, let dry, repeat for the other side.